Writing blog posts in Microsoft Word (Office 365) offers a range of conveniences. Firstly, Microsoft Word provides a familiar and user-friendly environment for content creation. It allows users to easily draft, edit, and format their blog posts with a professional touch. The rich formatting options, spell check, and grammar correction features help ensure the content is polished and error-free, saving time in the editing process. Additionally, Office 365’s cloud-based nature allows for seamless collaboration, as multiple authors or editors can work on the same document simultaneously, making it ideal for team-based blogging projects.
In this blog post, we will guide you through the steps of content creation using Microsoft Word and provide valuable insights on how to easily publish your content to a blogging platform, ensuring a smooth and convenient transition from Word to blog (Office 365 to blog) workflow.
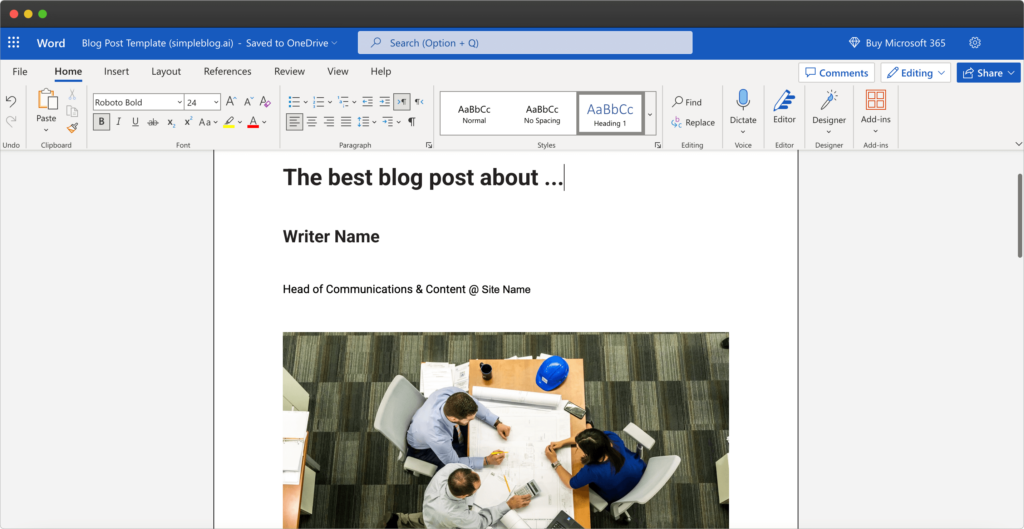
Step 1: Copy the blog post template
Our easy-to-use Office 365 Word blogging template is specially crafted for writing blog posts, aiming to simplify your writing process. With this template, you can effortlessly organize your thoughts and maintain a consistent format throughout your posts. It offers designated sections for the introduction, body paragraphs, headings, subheadings, and conclusion, ensuring a visually appealing and reader-friendly layout. Streamline your writing and focus on creating engaging content while enjoying the benefits of a structured framework.
To start using this template and make it your own, follow these simple steps.
- Open the Office 365 Word template.
- Click on the “File” tab located in the top left corner of the screen.
- In the dropdown menu, select “Save As” and choose where to save the document.
- Click on the “Save” button to save the file as a template.
- The template is now saved and can be used to create new documents and write blog posts based on its structure and formatting.
Once you’ve made a copy of the document, you can start writing your own blog post directly in Office 365 Word. Customize the content, tweak the formatting, and tailor it to your specific needs.
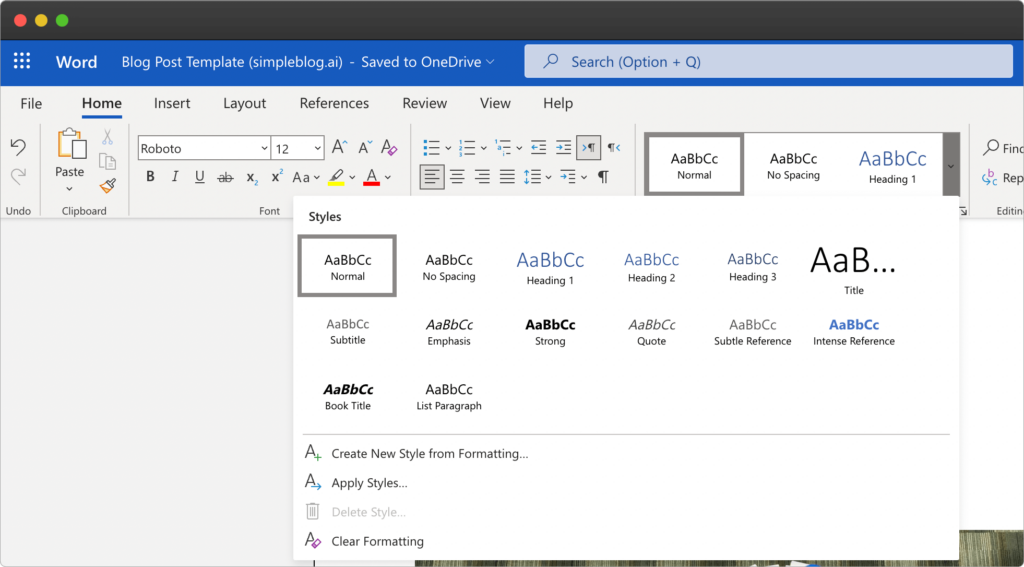
Step 2: Organize content with headings
One of the fundamental aspects of creating a well-structured and reader-friendly blog post is organizing your content effectively. In Office 365 Word, you have access to a wide range of formatting options that can assist you in achieving this goal. One of the most powerful tools at your disposal is the use of headings.
Headings in Office 365 Word allow you to divide your blog post into sections and subsections, making it easier for your readers to navigate and comprehend your content. Not only do headings establish a visual hierarchy, but they also play a vital role in search engine optimization (SEO) by signaling the importance and structure of your text to search engines.
To set text as heading in blog posts you write in Office 365 Word, follow these steps:
- Identify the main sections and subsections of your content.
- Place your cursor at the beginning of a section or subsection.
- Go to the top toolbar and click on the “Style” dropdown menu.
- Choose the appropriate heading style for the section or subsection.
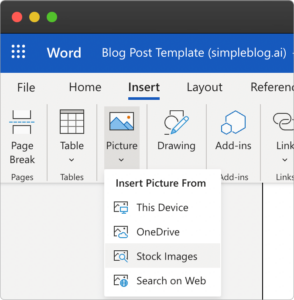
Step 3: Add visuals and images
Let’s start with numbers:
- Most people do not have much patience for text, as it was found that people read on average just 28% of the words on a web page.
- Also, it was found that content publishers who use visual content grow traffic 12 times faster than those who don’t.
When using Office 365 Word, incorporating relevant and high-quality images serves multiple purposes. Firstly, it breaks up the text, making the content more visually appealing and less overwhelming. Additionally, images help convey information, evoke emotions, and enhance the overall aesthetics of your blog post. They can effectively illustrate concepts, provide examples, or showcase products, adding an extra layer of visual appeal and information to your content.
Microsoft 365 Word can help you locate free stock images and integrate them into your content easily:
- Open your document.
- Click on the “Insert” menu.
- Choose “Picture” and click “Stock images”.
- Enter relevant keywords in the search bar.
- Scroll through the images and select the one you want to use.
- Drag and drop the selected image into your document or click the “Insert” button.
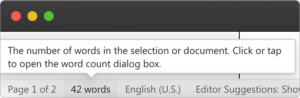
Step 4: Track word count
According to a study conducted by Moz, it was discovered that blog posts exceeding 3,000 words have the potential to be shared up to 150 times more on various social media platforms. This finding highlights the positive correlation between content length and social media engagement. By providing comprehensive and in-depth information within longer blog posts, writers can attract a larger audience and stimulate greater interest, leading to increased sharing and amplification on social media channels.
To check the word count in Microsoft Word:
- Open your document.
- Look at the bottom left corner for the word count display.
Step 5: Check spelling and grammar
A senior product manager in Bing wrote in his blog post: “just as you’re judging others’ writing, so the engines judge yours. If you struggle to get past typos, why would an engine show a page of content with errors higher in the rankings when other pages of error free content exist to serve the searcher“.
The importance of spelling and grammar in blog writing cannot be overstated. Correct spelling and grammar enhance the readability and professionalism of your content, leaving a positive impression on readers. Moreover, in terms of SEO, search engines prioritize well-written and error-free content, improving your blog’s visibility and ranking in search results.
To check spelling and grammar in Microsoft Word, follow these steps:
- Open your document.
- Go to the “Review” menu.
- Select “Editor”.
- A right-pane will open with spelling and grammar checks.

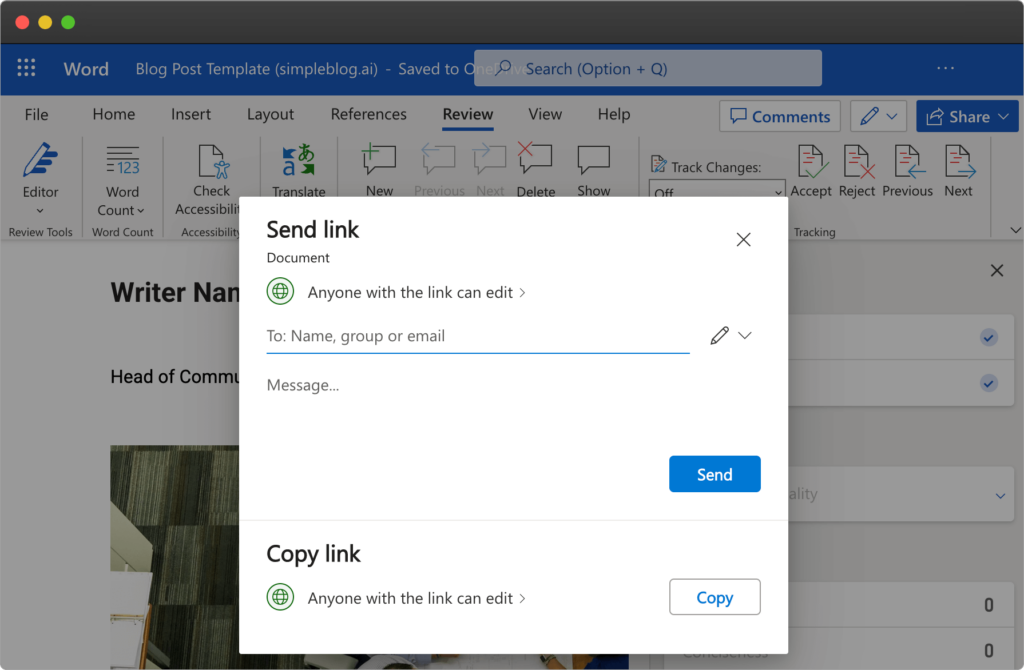
Step 6: Share for review
Having peers review your blog content before publishing is invaluable for several reasons. First, fresh eyes can catch errors, typos, and inconsistencies that you may have overlooked. Second, peer feedback provides valuable insights and suggestions to improve the clarity, coherence, and overall quality of your writing. Additionally, peer review helps ensure that your content is engaging and understandable to a wider audience.
Office 365 Word offers collaborative features that facilitate peer review seamlessly. By utilizing features like “Track Changes” and “Comments,” reviewers can provide specific feedback, suggest edits, and ask questions directly within the document.
To start a review process with your peers, using Microsoft Office 365 Word:
- Open your document.
- Click on the “Share” button in the top-right corner.
- Enter the email addresses of your peers and choose their access level.
- Click “Send” to share the document.
- Peers can add feedback using comments or suggested edits.
- Review their feedback and make necessary revisions.
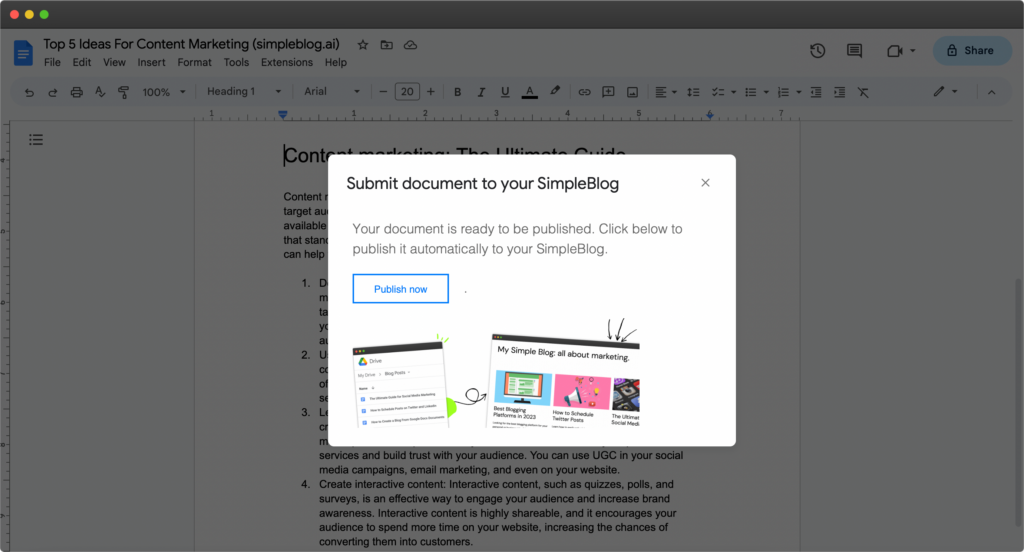
Step 7: Publish from Office 365 Word to blog
Using a platform that allows you to publish blog posts directly from Office 365 Word makes things much easier and saves a lot of time for people who create content. Instead of having to copy and paste content or deal with complicated formatting, this simple method makes the publishing process easier.
With just one click, writers can turn publish blog posts from Office 365 Word into a simple, fast and polished-looking blogging platform, with the same style and formatting used in the Word document.
- Register a free account at simpleblog.ai.
- Choose a subdomain, or configure a custom domain.
- Submit a link of your Office 365 Word to be published.
- You’re all done, your blog is up and ready for your readers.